
Hi,
In this post we are going to see how to build a Custom Linux Desktop Environment from scratch using Openbox Window Manager.
Before we proceed further, if we have a linux system with no desktop environment would be of much help to proceed with ease, if you have one already you can skip the following link which talks about having a linux system with no desktop environment.
Desktop Environment Packages Installation
lightdm : The Display Manager
The first and foremost item in the installation list is the Light Display Manager AKA lightdm, it is a cross desktop display manager...which can be installed using the command given below....
$ sudo apt install lightdm
The installation would take sometime, please hold on till it completes...
openbox-gnome-session : The Session Manager
Runs a GNOME session with Openbox as the window manager
To Install Openbox GNOME Session, key in the following command at the terminal...
$ sudo apt install openbox-gnome-session
openbox : The Window Manager
Openbox is a highly configurable, next generation window manager with extensive standards support
To install openbox, run the command below...
$ sudo apt install openbox
gnome-terminal : The Terminal Emulator
To Install GNOME Terminal Emulator execute the following command
$ sudo apt install gnome-terminal
obmenu : The Openbox Menu
Let us now install Openbox Menu, use the following command to have Ob Menu installed
$ sudo apt install obmenu
gedit : The GNOME Text Editor
Well this is not a part of window manager installation.... we need this utility to configure the desktop environment
Key in the following command at the terminal to have this utility installed...
$ sudo apt install gedit
tint2 : The System Tray
As we all know the system tray is one of the key features in the desktop environment, which can be made available using the following command...
$ sudo apt install tint2
docky : A Simple Docker
This utility is again a additional ingredient in the desktop environment, which enhances the user experience to an other level...
This utility can be installed using the command given below....
$ sudo apt install docky
nitrogen : Desktop Background Browser and Setter
This utility is used to set the background for the desktop. We can have it installed using the following command...
$ sudo apt install nitrogen
ubuntu-wallpapers : Utility for Wall Papers
This is an accessory to have good images for the background, if you have better images than this utility can give, skip this step of installing...
$ sudo apt install ubuntu-wallpapers
pcmanfm : The File Manager
Inorder to have clear differentiation between folders and files, we should have a file manager in place to handles files differently, well this utility would suffice the need and to install the same execute the following comnand
$ sudo apt install pcmanfm
lxappearance : The Theme Switcher
LXAppearance is the standard theme switcher of LXDE. Users are able to change the theme, icons, and fonts used by applications easily.
Use the following command to install LXAppearance
$ sudo apt install lxappearance
xcompmgr : The Composite Manager
Xcompmgr is a simple composite manager capable of rendering drop shadows and, with the use of the transset utility, primitive window transparency. Xcompmgr is a lightweight alternative to Compiz and similar composite managers.
To install xcompmgr use the following command
$ sudo apt install xcompmgr
firefox : The Browser
This utility does not require any description....
To install firefox run the command below...
$ sudo apt install firefox
pavucontrol : The PulseAudio Volume Control
PulseAudio Volume Control (pavucontrol) is a simple GTK based volume control tool ("mixer") for the PulseAudio sound server
To install pavucontrol use the following command
$ sudo apt install pavucontrol
volti : The Audio Volume Controller
Volti is a lightweight GTK+ application for controlling audio volume from system tray/notification area.
To install volti, use the command below..
$ sudo apt install volti
lxtask : The Task Manager
LXTask is the standard task manager and system monitor of LXDE. It starts via Ctrl+Alt+Del and is extremely lightweight.
To install lxtask, use the command below...
$ sudo apt install lxtask
gconf-editor : Editor for GConf Configuration Database
GConf-Editor is a tool used for editing the GConf configuration database.
To install GConf Editor, run the following command.
$ sudo apt install gconf-editor
Rebooting Virtual Machine
Now at this stage, we have completed installing the necessary components/packages required to have basic Desktop Environment but I cannot guarantee how they are placed.
To see how and where they are placed let us reboot the system...
$ sudo reboot
The above command would prompt you for the password, please provide one associated with the user.
Initial Look and Feel of the System with Openbox
After you reboot the system, you will have the login screen and the default desktop environment similar to the one given in the images
Login Screen by GNOME

Desktop Environment Selection

Login Screen by Openbox

Keying in Password

The Openbox Desktop Environment

Decorating the Desktop Environment
Crediting(Create and Edit) OpenBox Autostart
1. Open Terminal Emulator from the OpenBox Menu
2. Create a directory named openbox at the location ~/.config using the following command
$ mkdir ~/.config/openbox
3. Create a autostart.sh file at the location ~/.config/openbox/autostart.sh, using the following command..
$ touch ~/.config/openbox/autostart.sh
4. Use the following command to edit the autostart.sh file of openbox
$ gedit ~/.config/openbox/autostart.sh
5. Include the following entires in autostart.sh file
tint2 &
docky &
nitrogen --restore &
xcompmgr &
volti &
docky &
nitrogen --restore &
xcompmgr &
volti &
6. Save the file autostart.sh
7. Reboot the system
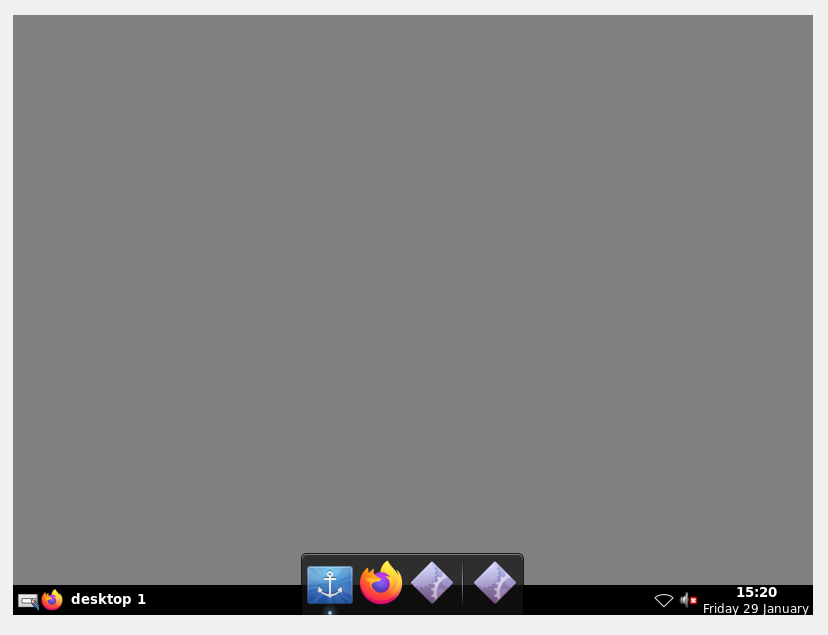
Having done all the mentioned steps, you would have a desktop something like the one shown in the image below....
Editing Openbox Menu
1. Open a Terminal emulator and run the following command
$ obmenu &

You would have the obmenu utility dressed up like the one shown in the image below...
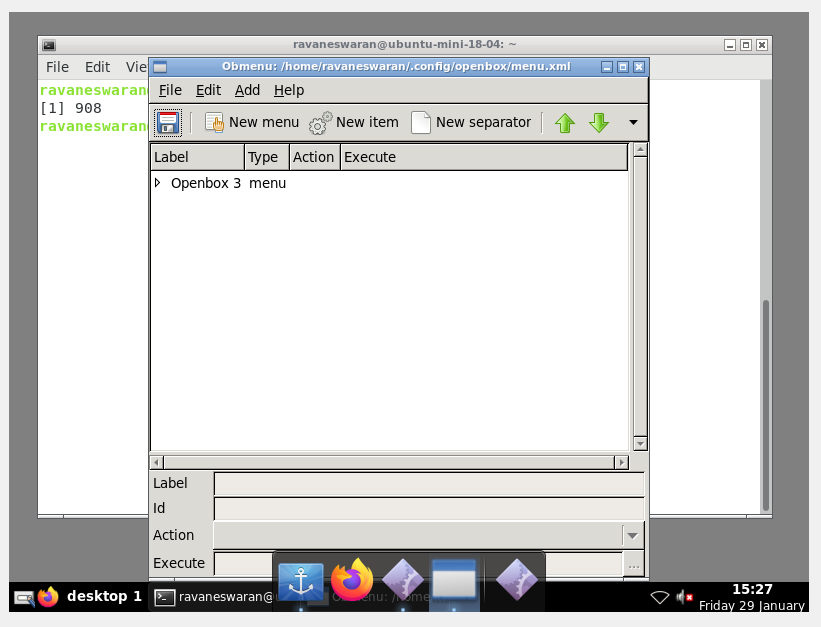
2. Expand Openbox 3

3. Renaming Exit Menu Item
Scroll down and select the Exit menu item, click on the Label field to change the name to Logout


4. Save the entry
5. Creating Reboot and Shutdown Entries..... follow the steps given below to create menu items...
5.1 Click on New Item form the tool bar and name the new entry as Reboot with command reboot.

5.2 Click on the New Item again from the tool bar and name the new entry as Shutdown with command shutdown now

6. You can use the arrow tools to move the menu item up and down according to your needs, well the image below would give you the needs I had....

7. Create a menu item for changing the background
New Item -> Lable : Change Background
-> Execute : nitrogen

The Image below would give you the picture of the menu after the changes....

Positioning Docker on the Left Side
In this section let us reposition the docker which is at the bottom and along with system tray.
1. Click on the anchor icon : when you click on the anchor icon in the docker, you would have a window along with the tool tip saying "Drag to repositon" similar to the one given in the image below...

2. Now click and hold the anchor icon and drag to the any of the sides of the screen, in my case I would like to have the docker at the left hand side of the screen, the reference image is given below...

3. Set the hiding propery to Intellihide, by default this is set None.


Setting an Icon Theme
In this section, I would like to disclose on how to set an Icon Theme for the desktop. To have one we have to use the package lxappearance
1. Open the Terminal Emulator and key in the following command
$ lxappearance &

You would have a window like the one given below...
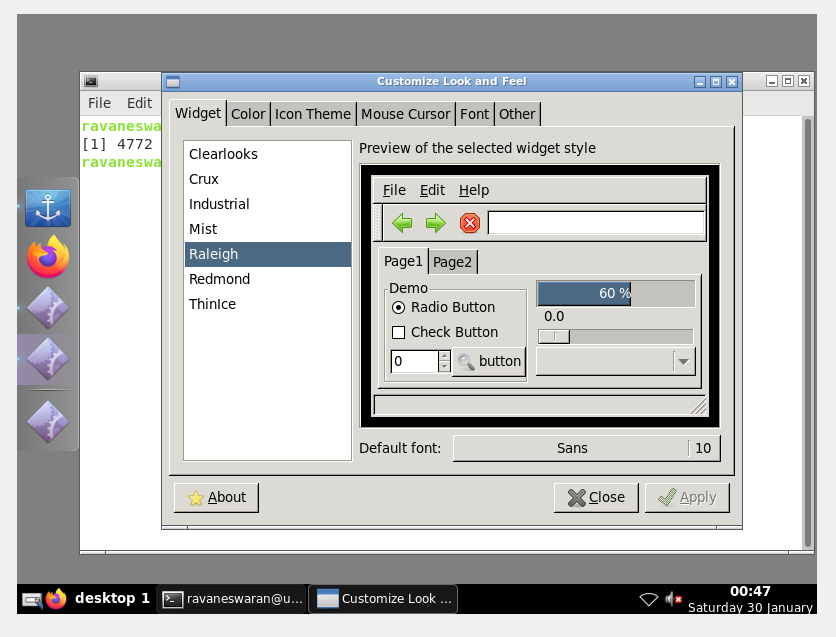
2. Click on the Icon Theme tab

3. Select the theme which works for you and Apply

Working on Tint2 Panel Themes
In this section we can discuss on working with Tint2 Panel Themes
1. Click on the Tint2 Settings Icon : On the deep left side of the system tray, you would find an icon left to firefox icon called Tint2 Settings Icon, click the icon to have Tint2 Panel Settings.

2. Close the properties window

3. Now select a theme that works for you, my case I have selected the theme shown in the image below...

4. Set the theme as the default theme by clicking on the "Make default" button given on the top.

Setting the Desktop Background
In this section of discussion, let us deal with setting desktop background.
1. From the ObMenu, select/click the Change Background.

2. Click on preferences
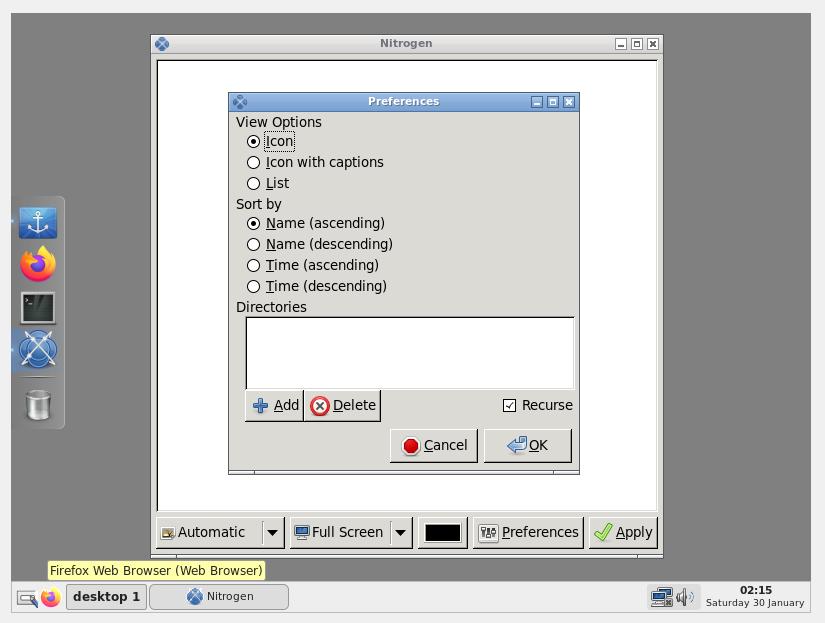
3. Click on Add

4. Navigate to the folder File System : /usr/share/backgrounds and click on select
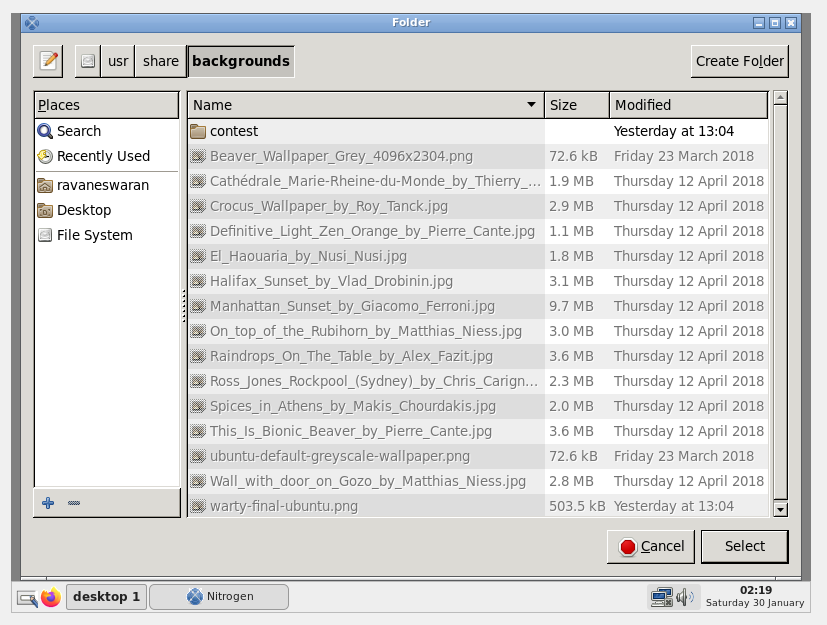
5. Click OK


6. Select the images you like to set it as desktop background and Apply.

7. Set the fill style to "Zoomed Fill" and Apply


Removing Icons from the system tray
In this section, we talk how to remove the icons that we found on the system tray...
1. Click on the Tint2 Panel Theme Icon on the deep left side of the system tray

2. Click the "Launcher" Tab

3. From the above image you can move the items that you have on the left hand side to the right, in my case I would like to have firefox to be moved from left to right...

4. Remove the desktop name
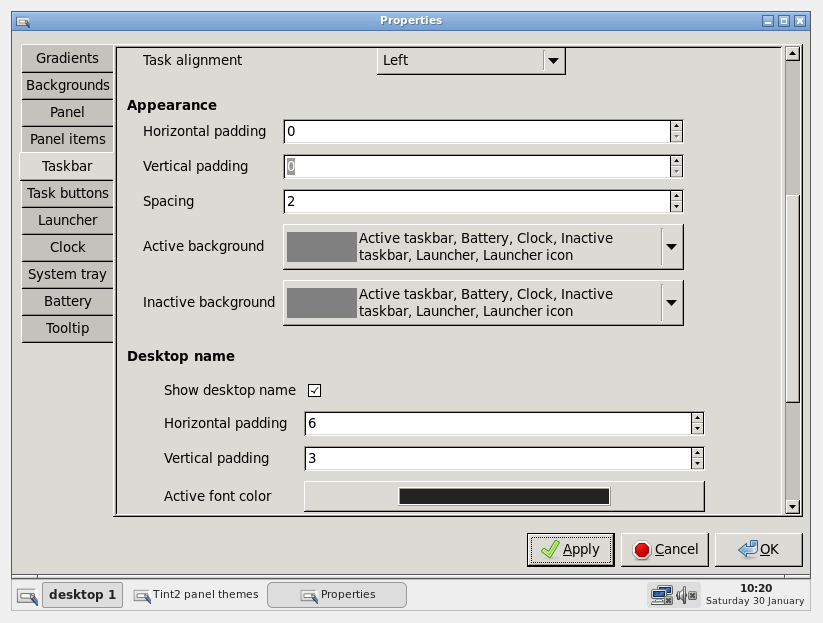

4. Apply the changes and Click OK, the result of the applied changes is displayed below...

Pin to Dock
This section is a utility section, you can skip if you want.
Open up a terminal and run the following command to pin to dock(right click on the icon to pin it) on docker
$ gedit
$ lxtask
$ pcmanfm


