
Hi,
In this post, we are going to create, format and mount a hard disk using virtual box.
This post assumes, you have virtual box and a virtual host is installed and running. if you want one, please checkout the online resources for the installation of virtual box and a virtual host in it.
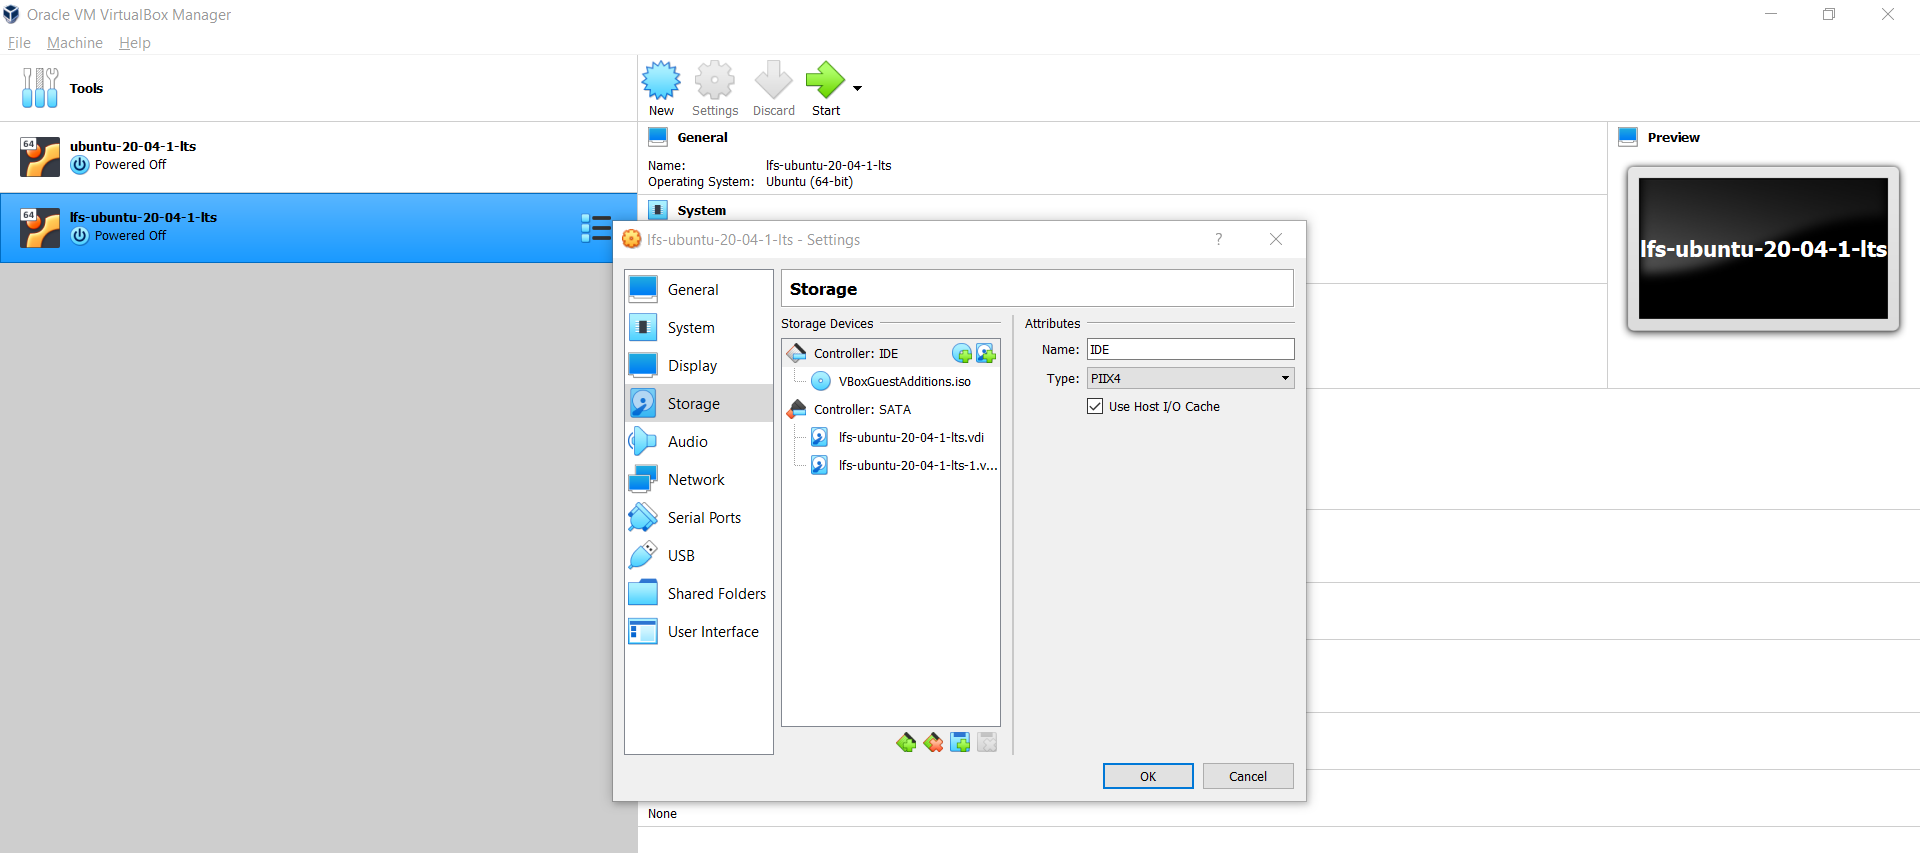
In my case, the below picture describes the setup I have.

Creating the Virtual Hard Disk
From tool bar click the following option
Settings -> Storage -> Controller : SATA -> Adds Hard Disk -> Create
Pictorially, we can summarize as below...


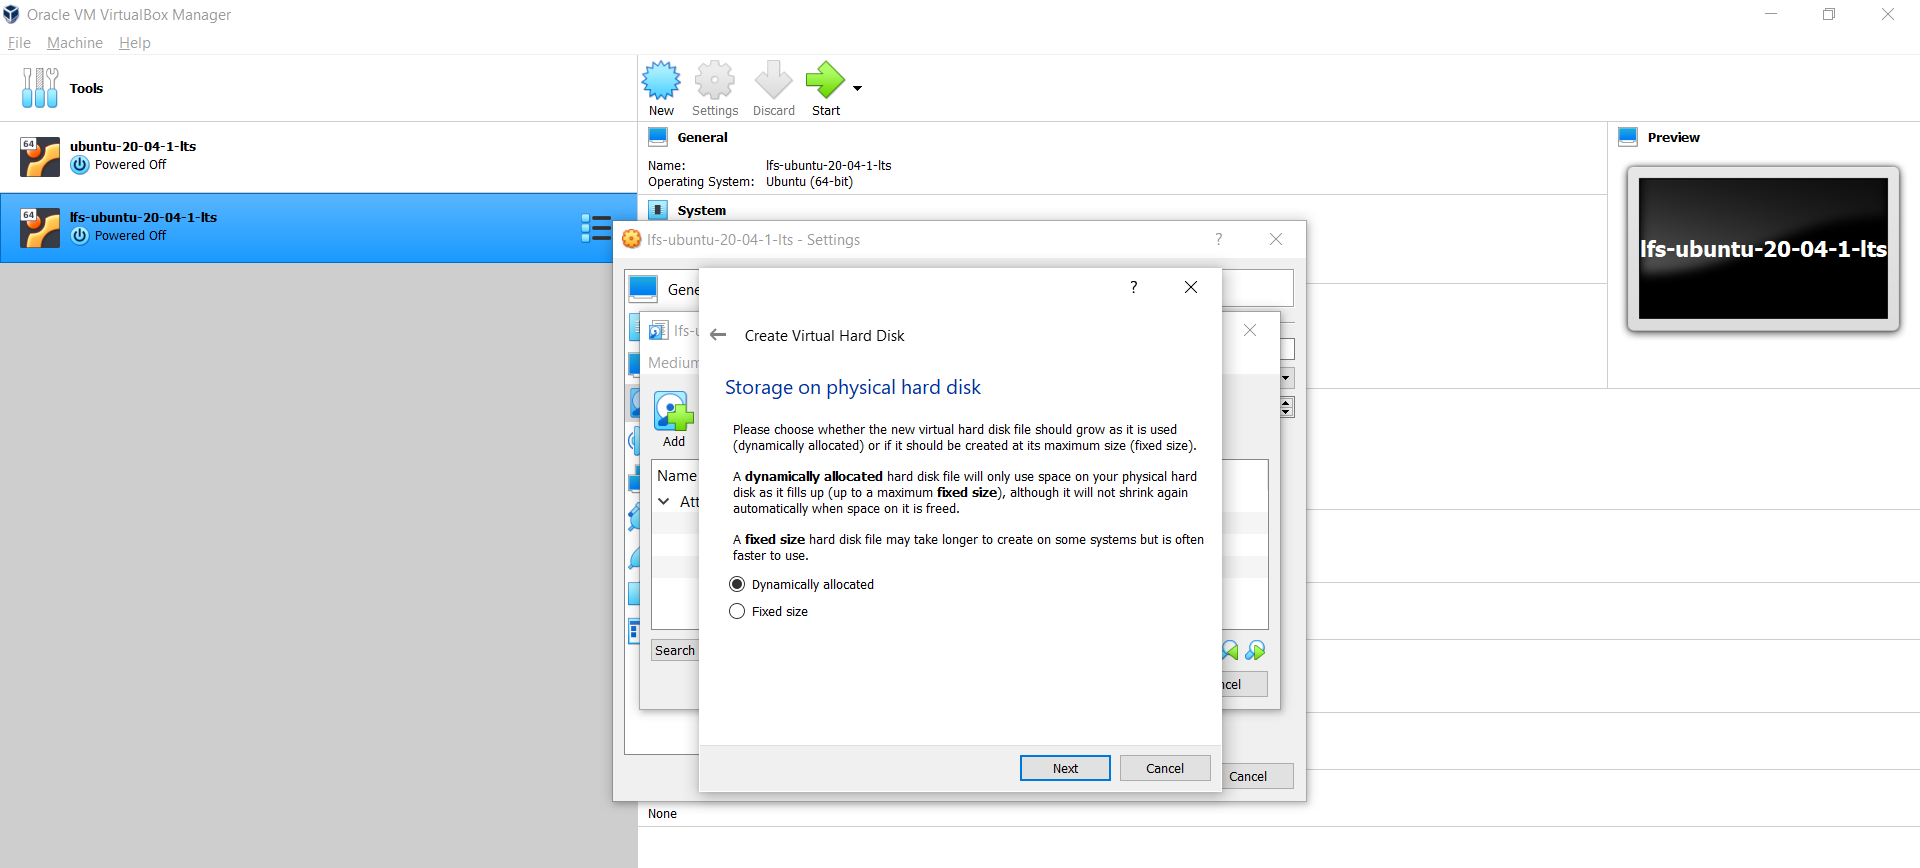
Let us provide the name and size of the hard disk , the name that I have chosen for the trial is as follows...
Name : lfs-ubuntu-20-04-1-lts-3
Size : 20.00 GB

Now we have to attach the virtual hard disk to the virtual host

If you look at the "Attached to" of the SATA, it is empty, but when you start the instance....I would have a valid entry, this is how we can confirm the hard disk is attached to the virtual host.
the below image would tell you how the virtual hard disk is now attached to the virtual host.

Formatting the Virtual Hard Disk
Now let us confirm the above attachment via terminal using the command fdisk
$ sudo fdisk -l
the above command would prompt you to key in the password, please provide one associated with the user....
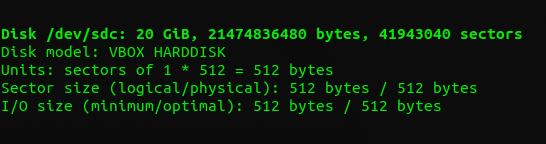
from the details above we can understand the disk that is attached is yet to be partitioned....
Provide the following command at the prompt, to have the disk partitioned...
$ sudo fdisk /dev/sdc
the result of the above command is sampled below....

if you look at the image carefully, we have used three option to partitioned the hard disk...
1. Option 'n' : for new partition, i.e I have used the entire disk as extended partition and not the primary one
2. Option 't' : is to provide the partition system id which we have to provide in hexadecimal format, the hex code for linux is "83"
3. Option 'w' : this option is used to write the changes we made on the disk.
we can conclude the above partition by using the following command...
$ sudo fdisk -l

Now we have to format the disk that we have partitioned... to format the disk, provide the following command at the prompt
$ sudo mkfs.ext4 /dev/sdc1
the image below is the result of the above command and now we have valid disk formatted and ready for mounting...

Mounting the Virtual Hard Disk
This is the simplest step stating the disk has to be mounted on specification location(directory) to access it...
To create the mount point, use the command below...
$ sudo mkdir /mnt/lfs
the above command would create a directory in /mnt/lfs which is the access point for the newly attached virtual hard drive....
to mount the virtual hard drive at the above mentioned mount point, use the command below...
$ sudo mount /dev/sdc1 /mnt/lfs
to check the above action use the "df"(disk free) command to see the mount point....
$ sudo df -h

the last line in the image would tell you the virtual hard disk is mount successfully at the specified mount point...


No comments:
Post a Comment